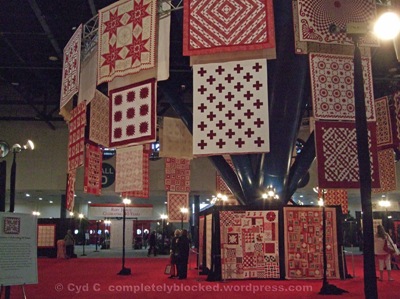
The International Quilt Festival in Houston was amazing, as always. It’s so incredibly inspiring to see all of the quilts and quilt-related pieces that people have made. It was the 40th anniversary of the International Quilt Festival, and as part of the celebration they had a huge collection of red and white quilts on display.
The classes I took there were great, too. I learned how to do reverse appliqué by machine, how to work in a single colour to make small collage quilts, and how to sew with silk. I also got some great tips on getting more productive time in my sewing room.
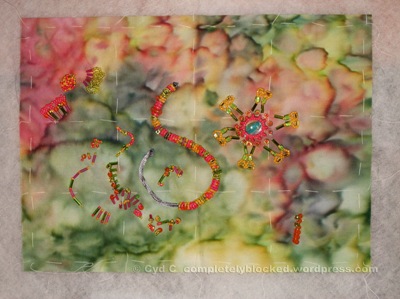
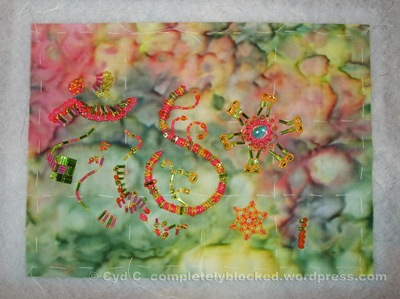
Since returning home, I have finally finished a little beading sampler that I started in a bead embroidery class in Houston 4 years ago. The class was taught by Nancy Eha, and was fun and informative. I came home with a partially completed sampler of beading stitches and techniques.
I picked this up again last April, and started adding more beads. I have Nancy’s book, Bead Creative Art Quilts, to refer to, so I tried out a few more of the stitches and ideas in the book.
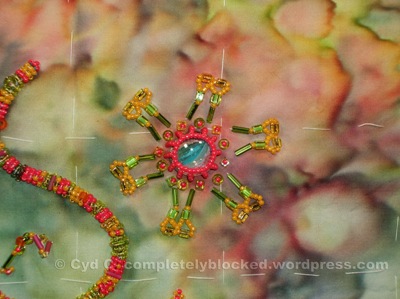
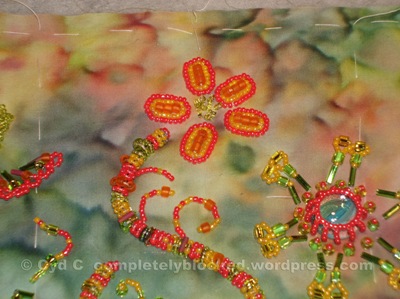
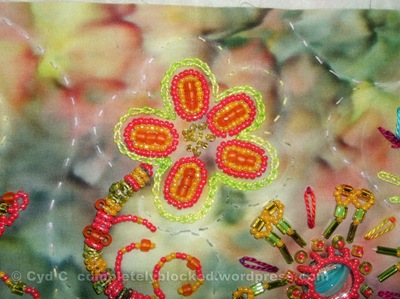
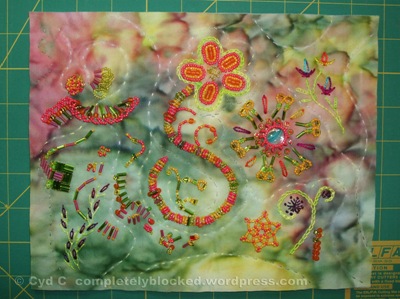
One of the techniques I learned in class was how to use bead embroidery to attach a cabochon to fabric. A cabochon is a stone with one flat side and no holes, so it has to be attached with plain or beaded stitching that circles the perimeter and tightens in as it is raised. I used this blue glass cab as the centre of a flower.
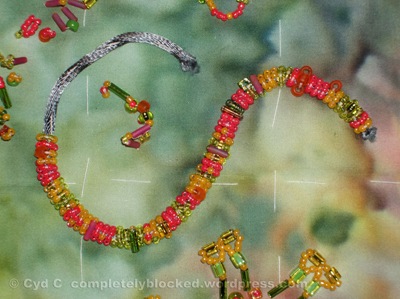
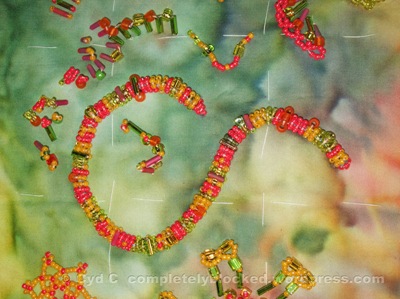
The squiggle in the middle of the sampler is a piece of rayon cord covered with beads. The cording is stitched to the fabric with a running stitch. Then the cord is covered with beads (page 27 in Nancy’s book). I was adding them in a fairly random fashion.
I used a mixture of seed beads, bugle beads, and square beads.
We learned a number of ways to create dimension by stacking beads on top of each other. This wavy fence is made from bugle beads topped with loops of seed beads. They are attached to each other by having adjacent circles share a bead.
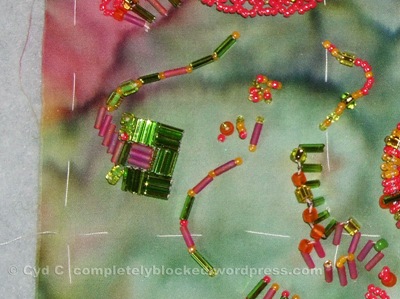
Here is a flower stitched with a grid of bugle beads and some seed beads. This photo also shows a few of the other bits of beading that we learned in class.
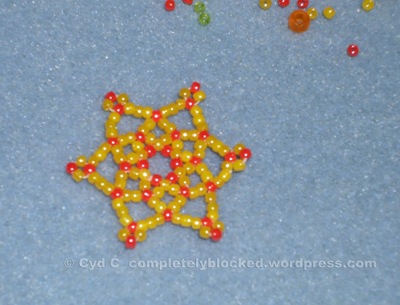
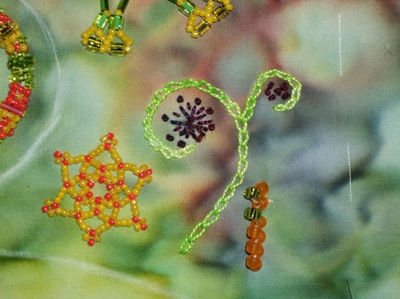
I stitched a snowflake using seed beads and thread (page 67) and sewed it onto the sampler.
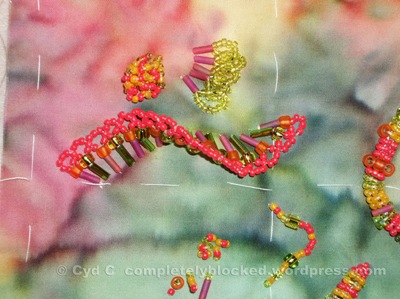
I thought that the beaded cord looked like a flower stem, so I stitched a few little curlicues branching off of it.
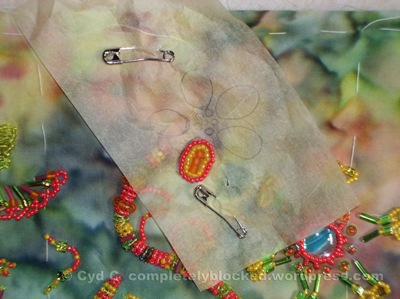
Of course, the flower stem needed a flower. I didn’t have much luck trying to sew one free-hand, so I drew one out on a piece of Golden Threads paper, pinned it to the fabric, and stitched over that.
It worked pretty well, although I found the paper a little bit hard to remove once the beading was finished.
At this point, I decided that there was enough beading, but there was some empty space that needed something in it.
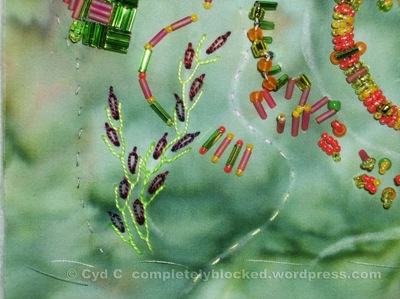
I recently bought a couple of books on embroidery, one of which is The Stitches of Creative Embroidery by Jacqueline Enthoven. I thought that this piece was a great chance to try out a few stitches. There’s a whole section in the book on the chain stitch and different ways to use it (starting on page 121). This little fern is made from the basic chain stitch. A few straight stitches and French knots fill in the swirls.
I used chain stitch to surround the petals of my large beaded flower, too.
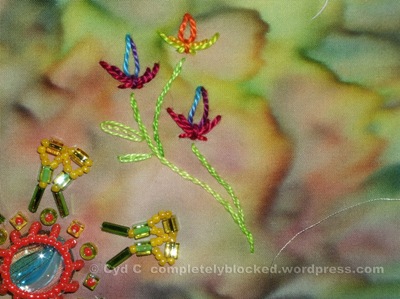
A single chain stitch (or Lazy Daisy stitch) makes nice tulips (page 127), as well as leaves.
Some single chain stitches in lines of feather stitch makes grass (page 108).
All of the bead embroidery was done on fabric basted to a piece of batting. I added a backing fabric after the beading was finished. To hold the three layers together I quilted the sampler with curved lines of long running stitches using two strands of embroidery floss. I marked the lines first with a chalk pencil. When the quilting was finished, I trimmed off the excess backing and batting.
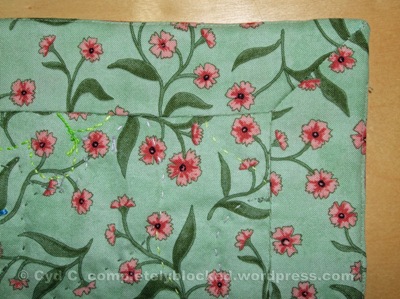
I decided to try a new-to-me method of finishing the edges of this piece. A long time ago I downloaded a free e-book from the Quilting Daily website that included a tutorial on using a facing to finish the edges of an art quilt (located here). The facing folds to the back of the quilt, with mitred corners and hand stitching along the edges to hold it down.
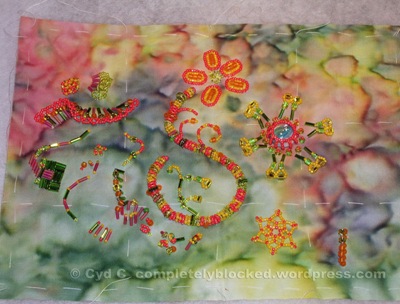
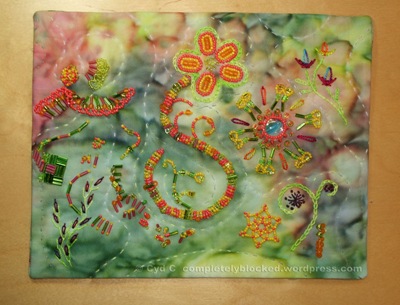
And at last, here is the finished sampler:
(as usual, click on the photos to enlarge them)

